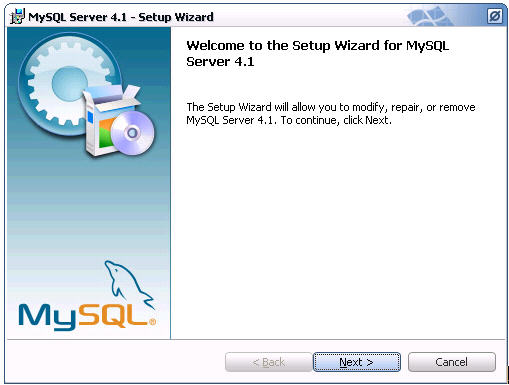
1.安装向导欢迎界面
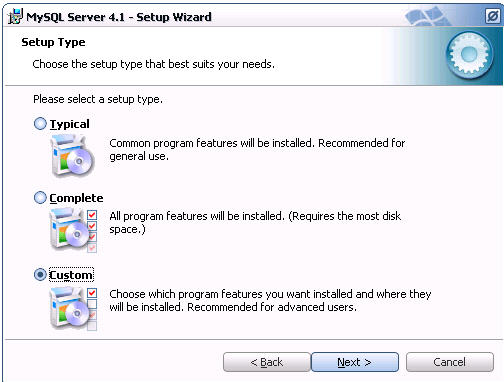
2、选择安装类型
Typical(典型)、Complete(完全)、Custom(自定义),选择“Custom”安装
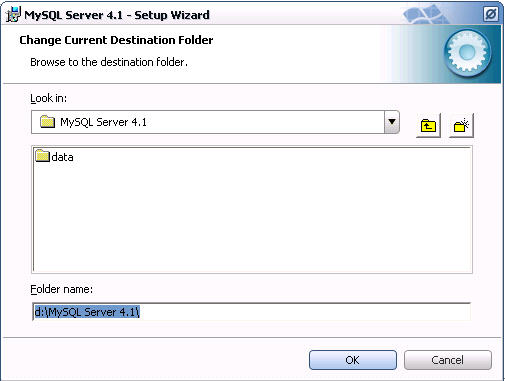
3.自定义安装
默认情况下MySQL将会被安装到C:\Program Files\MySQL\MySQL Server 4.1\文件夹里面。
可以点“Change”更改路径。(建议装在非系统盘,比如d:\MySQL Server 4.1\)

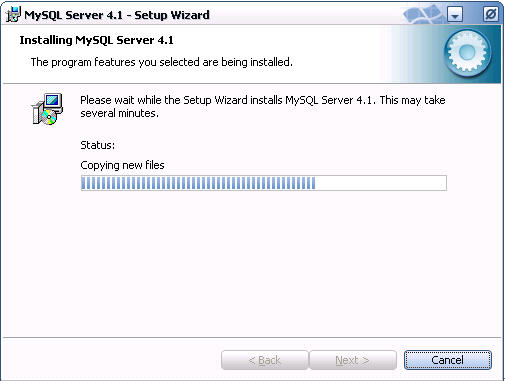
4、准备开始安装
Install——开始安装

5、创建MySQL.com帐号的界面,如果是首次使用MySQL,可以选“Create anew free MySQL.com accout”来创建一个MYSQL的账号。(菜鸟建议选skip sign-up跳过)

6、文件复制完成后,这里有个配置向导的选项(Configure the MySQL Server now),建议勾选立即配置你的MySQL。

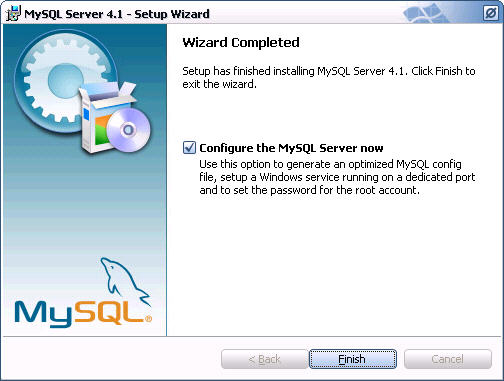
7、安装完成界面
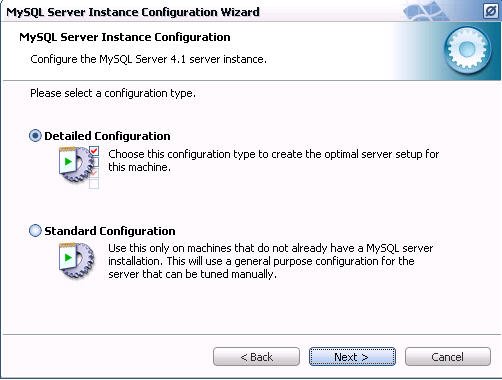
8、配置类型选择页面。选“Detailed configuration”(详细配置)。
9、进入服务类型选择页面。选“Developer Machine”(开发者机器),这样占用系统的资源不会很多。

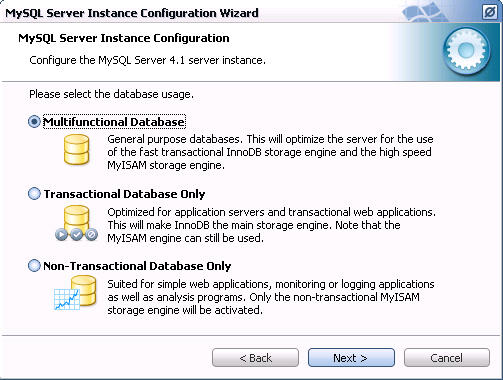
10、数据库用法选择页面。选择“Multifunctional Database”。
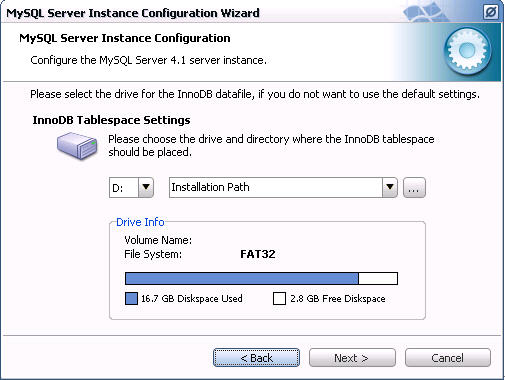
11、选择InnoDB数据存放位置页面。
不用更改设置,直接放在Installation Path安装目录里即可
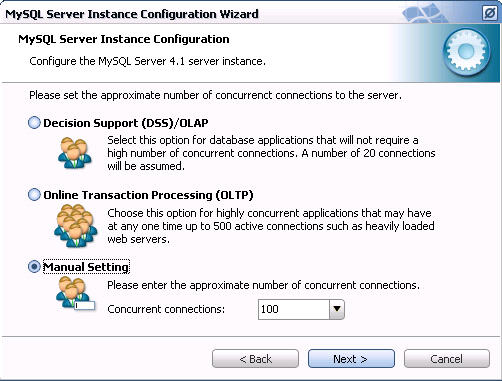
12、选择MySQL的同时联接数。
选择“Manual Setting”,设置根据自己需要,酌情设置。我设个100
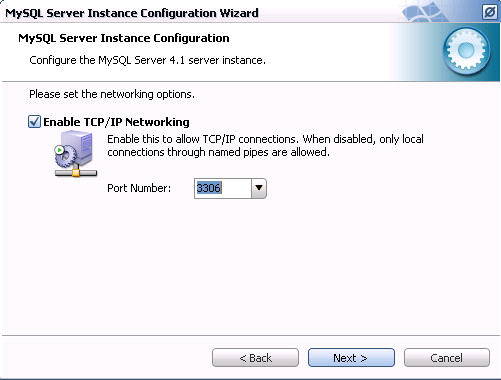
13、配置MySQL在TCP/IP通讯环境中的端口。
选择默认的3306端口即可,有开防火墙和IP刷选记的加上端口。
14、选择MySQL中的字符设置。
注意,这里的选择将会影响你是否能在MySQL中使用中文。选择gb2312字符集以便支持简体中文,繁体中文选big5。这里我们要安装的是征途,因为征途服务端本身的特性,经个人测试选择第一项即可,如果选择下面中文模式反倒造成在后台查看人物名显示错误。

15、设置Windows服务选项。
注意,“Install As Windows Service”一定要勾选,这是将MySQL作为Windows的服务运行。“Service Name”就用默认的“MySQL”或者你喜欢的服务名(推荐用默认的“MySQL”)。中间的“Launch the MySQL Server automatically”一定要勾选,这样Windows启动时,MySQL就会自动启动服务,要不然就要手工启动MySQL。出现10061错误,原因在这里。下面那个勾主要是检查和手工调整,菜鸟不需要设置。

16、设置根帐号root的登录密码。
“Modify Security Settings”是设置根帐号的密码,把勾打上输入你的密码,mysql的用户默认为root 。中间的勾是允许远程访问,如果你想远程修改数据库则勾选,这里默认为非勾选状态。下面的Create An Anonymous Account”是创建一个匿名帐号,这样会导致未经授权的用户非法访问你的数据库,有安全隐患,建议不要勾选。

17、MySQL配置向导将依据你上面的所有设定配置MySQL,以便MySQL的运行符合你的需要。
点“Execute”开始配置,当出现“Service started successfully”时,说明你的配置完成,MySQL服务启动成功。
点“Finish”完成,整个MySQL的配置完成,剩下的就是用MySQL客户端连接MySQL服务器,然后使用了。

19、通过Windows的服务管理器查看。
“开始”-“运行”,输入“services.msc”,回车。弹出Windows的服务管理器,然后就可以看见服务名为“mysql”的服务项了,其右边标明“已启动”。

相关文章